Configuring Microsoft AD CS
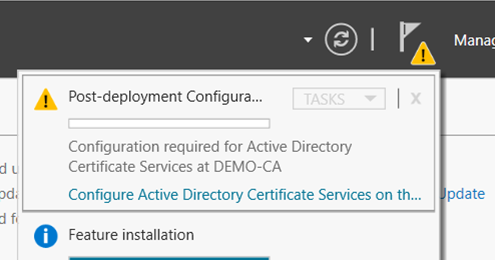
When the installation is complete, click Configure Active Directory Certificate Services on the destination server link.
- On the
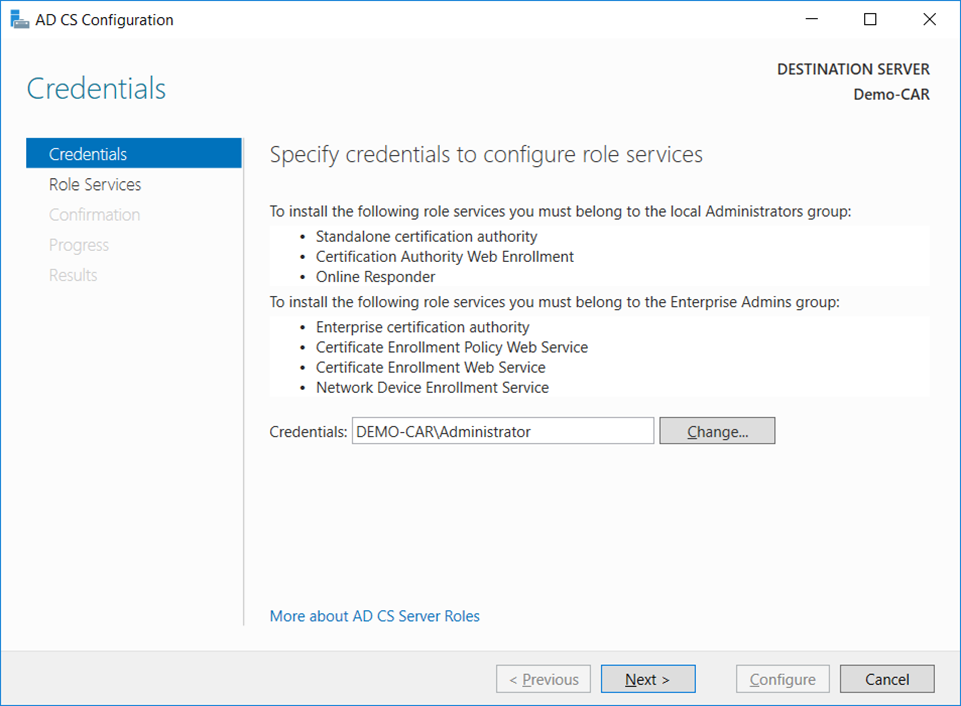
Credentialswindow, ensure thatAdministrator's credentialsare displayed in theCredentialsbox. If not, clickChangeand specify the appropriate credentials. ClickNext.
- On the
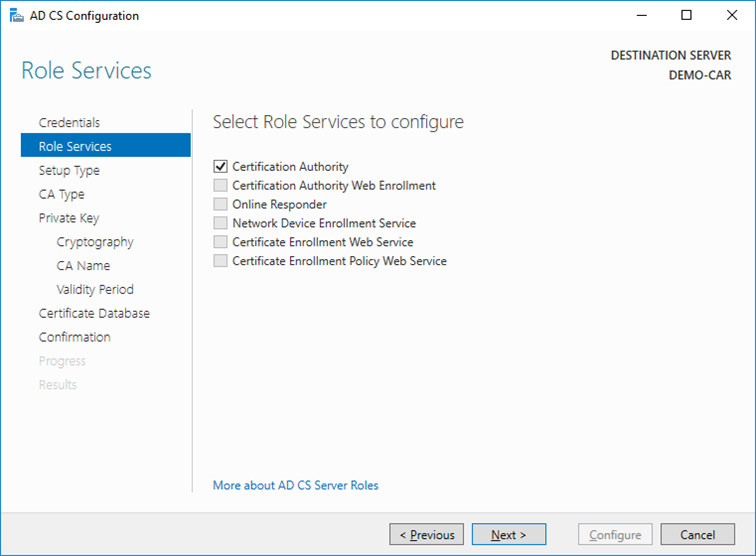
Role Serviceswindow, selectCertification Authority. This is the only available selection when the certification authority role is installed on the server. ClickNext.
- On the
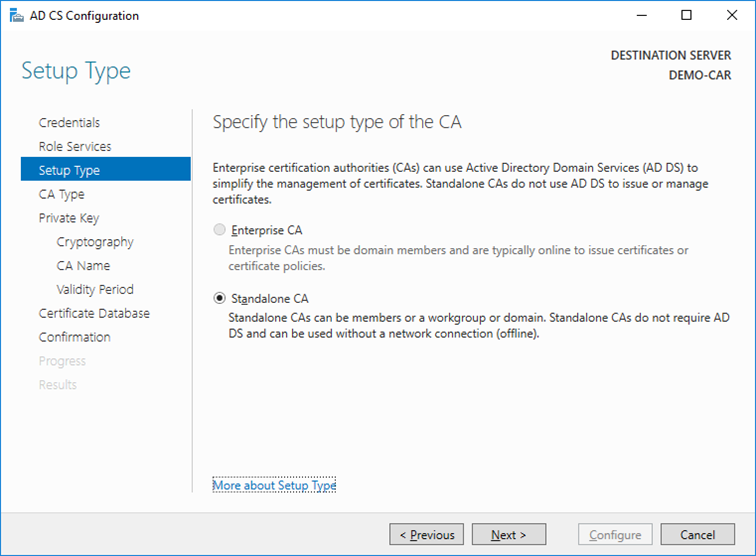
Setup Typewindow, select the appropriate CA setup type for your requirements. ClickNext.
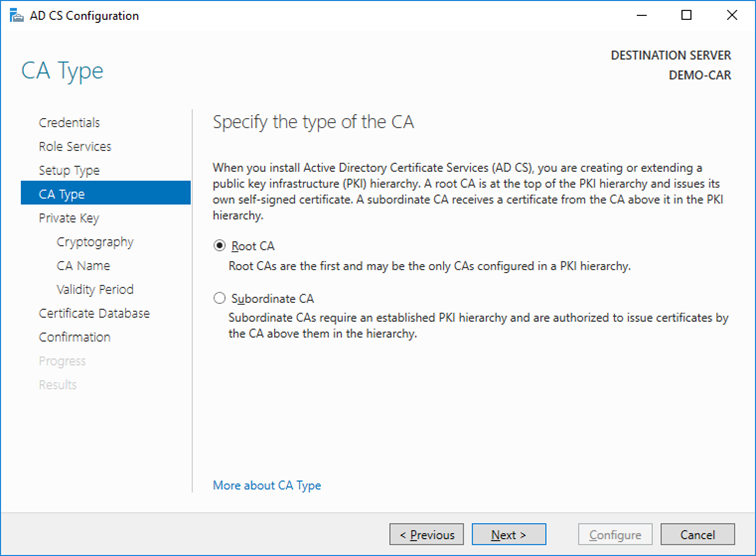
- On the
CA Typewindow,Root CAis selected by default. ClickNext.
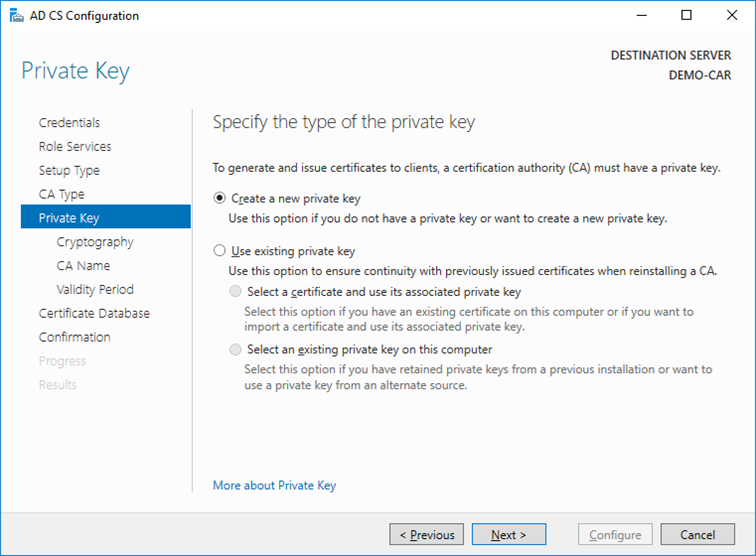
- On the
Private Keywindow, leave the default selection toCreate a new private keyselected. In case you want to use existing keys, refer to chapter Migrating Microsoft PKI to another Server Instance. ClickNext.
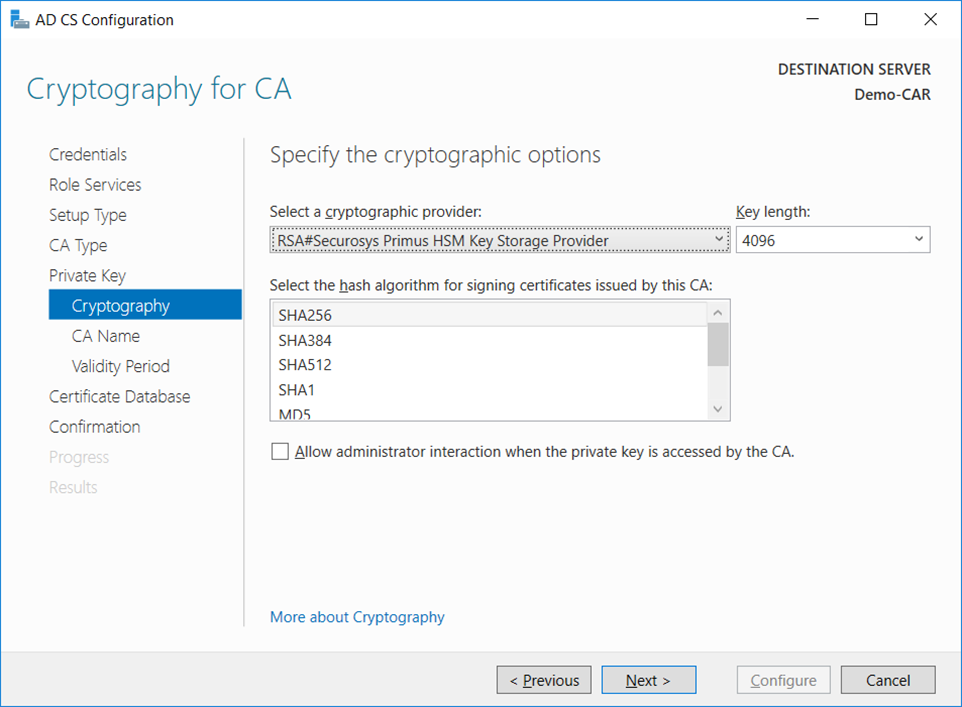
- On the
Cryptography for CA window, select theRSA#Securosys Primus HSM Key Storage Provideralong with the key type, key length and suitable hash algorithm. Please consider that some older devices and applications only support key lengths up to 2048 bits. Then click Next.
- On the
CA Namewindow, give the appropriate CA name and clickNext.

note
You should not use the name of the computer nor FQDN (consult TechNet Wiki article Considerations for Certification Authority (CA) Names)
- On the
Validity Periodwindow, enter the number of years for the certificate to be valid and clickNext.

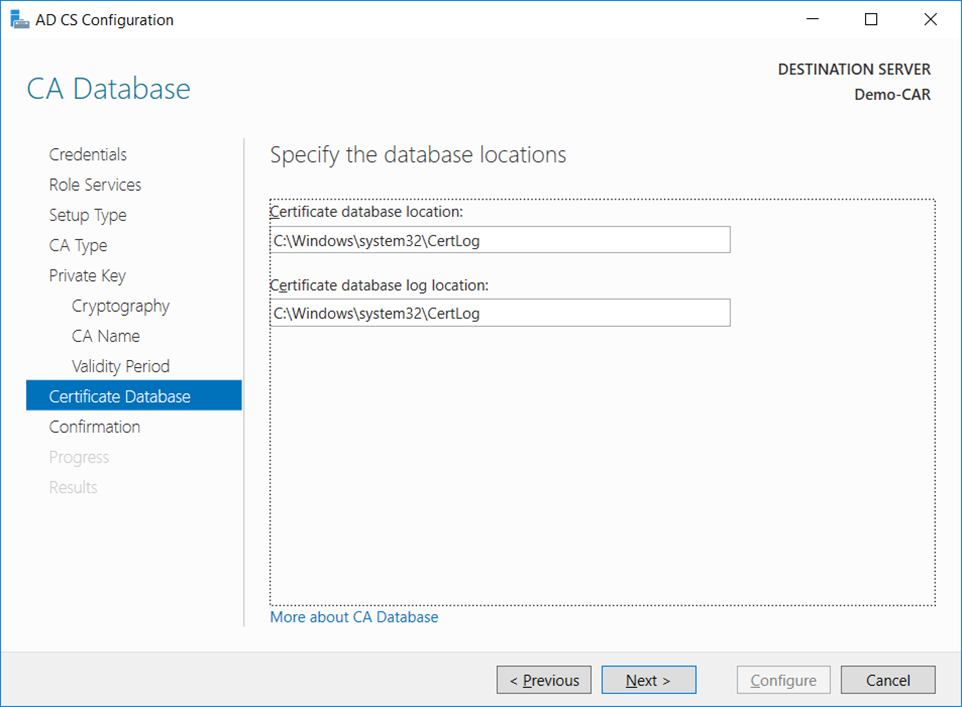
- On the
CA Databasewindow, leave the default locations for the database and database log files. ClickNext.
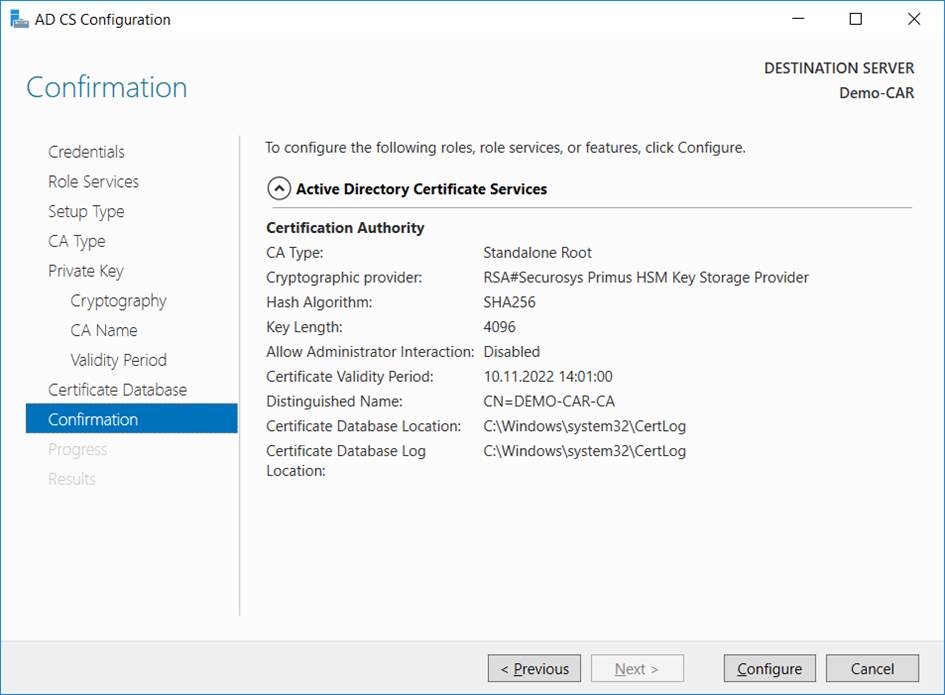
- On the
Confirmationwindow, clickConfigure.
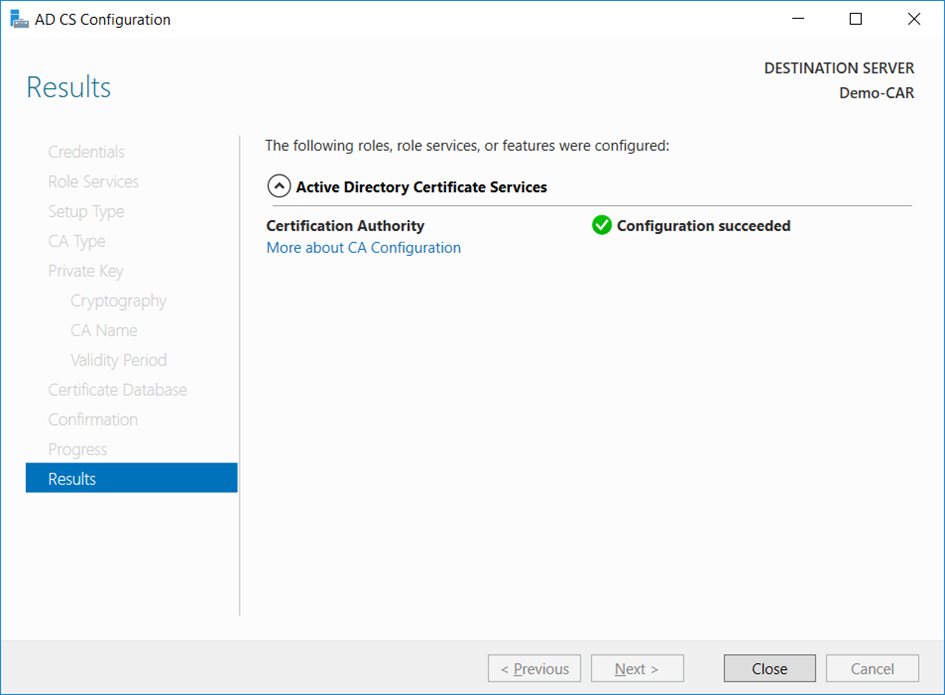
- The
Progresswindow opens during the configuration processing, and then theResultswindow opens. ClickClose. If theInstallation progresswindow is still open, clickCloseon that window also.
- Verify that the CA service has started successfully by running the following command on the command line. Use
Windows key + Rto open the Run dialog, and typecmdto open the command prompt. Run the command:
sc query certsvc